 will stedden
Green Wall Irrigation
Last winter, my friend and I set out to build a sort of "green wall" in his back yard. It was a very fun project, and the building and planting turned out to be quite easy.
What turned out to be harder was getting my very busy friend to keep his garden watered. By the end of this summer, everything was dead.

Since I knew my friend wouldn't be able to stop traveling for work, I decided the only way to make last year's project a success was to add a custom multilevel sprinkler system.
Construction
Hose
We used drip irrigation hose, which works by letting the water soak out through a porous hose material. When I was younger this same task was normally accomplished using a cheap hose with holes poked into it every foot or so. But times change, and technology improves. I think the logic is that the drip irrigation would then give a more uniform distribution of water.
The problem though is that with the drip irrigation you don't have the ability to set just how porous you want your hose to be. In almost all cases I'd bet that the drip irrigation is probably optimally set up to maintain a great flow.
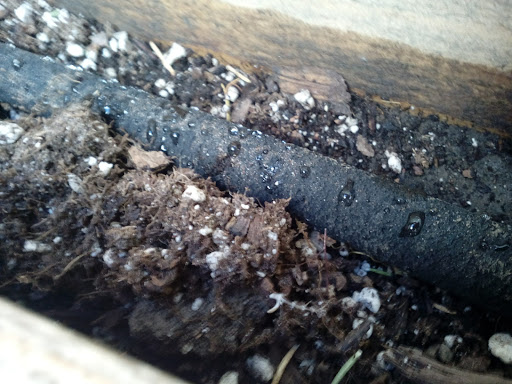
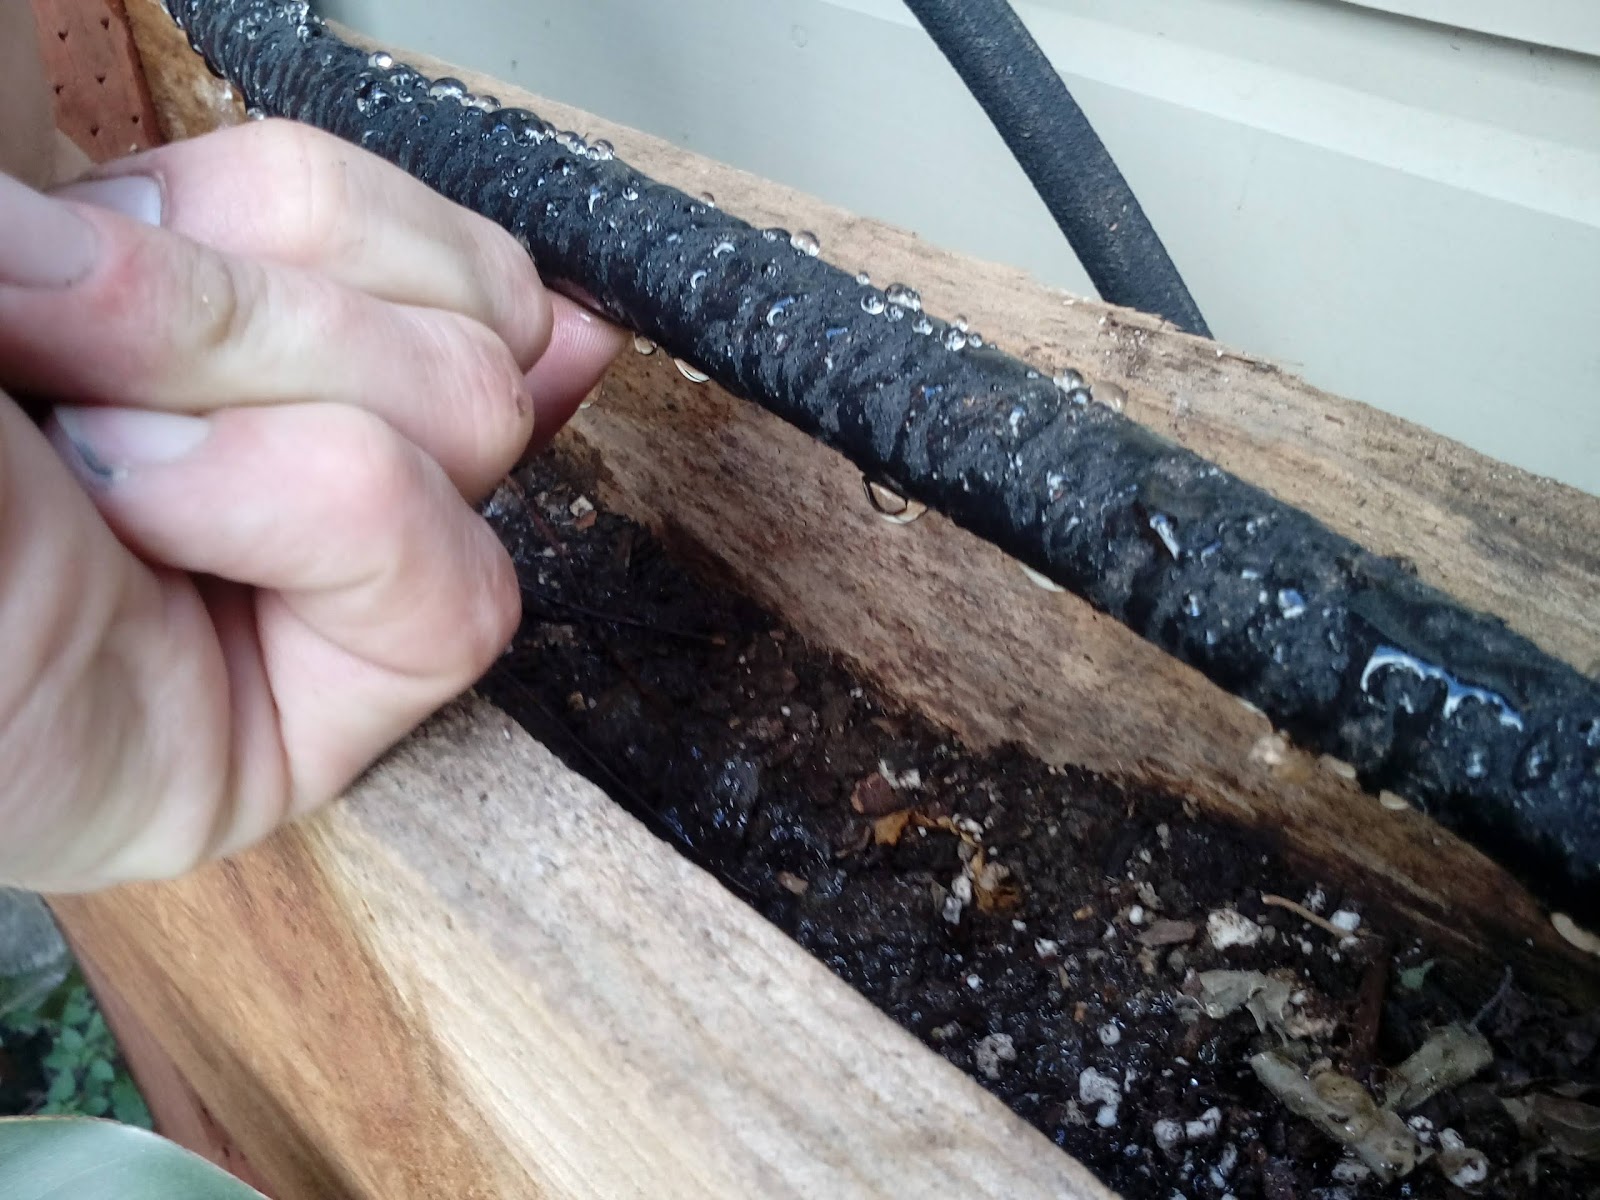
But we happened to be working in one of those cases where gravity works against you. In our original plan we ran the drip hose straight first at ground level and then snaked it up to end at the top. Unfortunately, this meant that there was higher pressure right at the beginning, which caused all of the water to shoot out before it could get to the top.
 middle (ok) top (bone dry)")
The solution was to add a segment of solid hose that first ran to the top of the planter before running back down. With this setup, there was enough time for the water at the top to seep out before it went to lower levels.


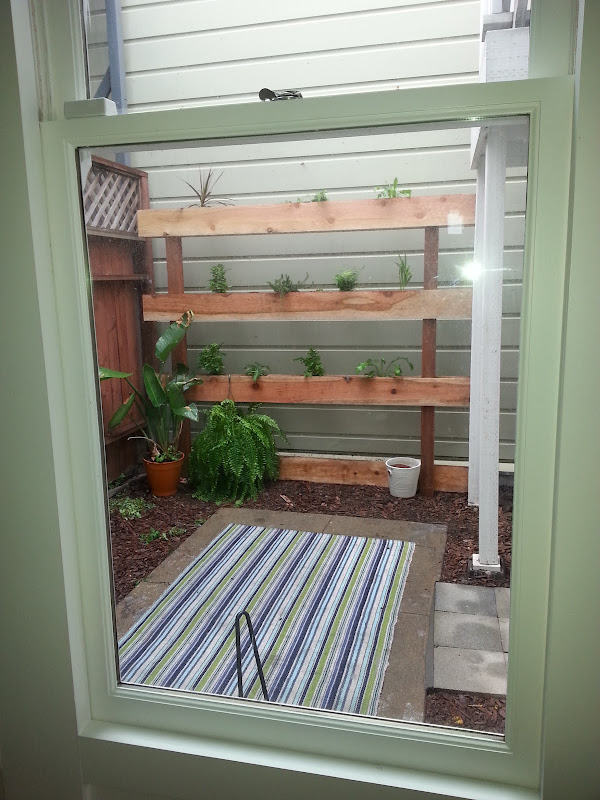
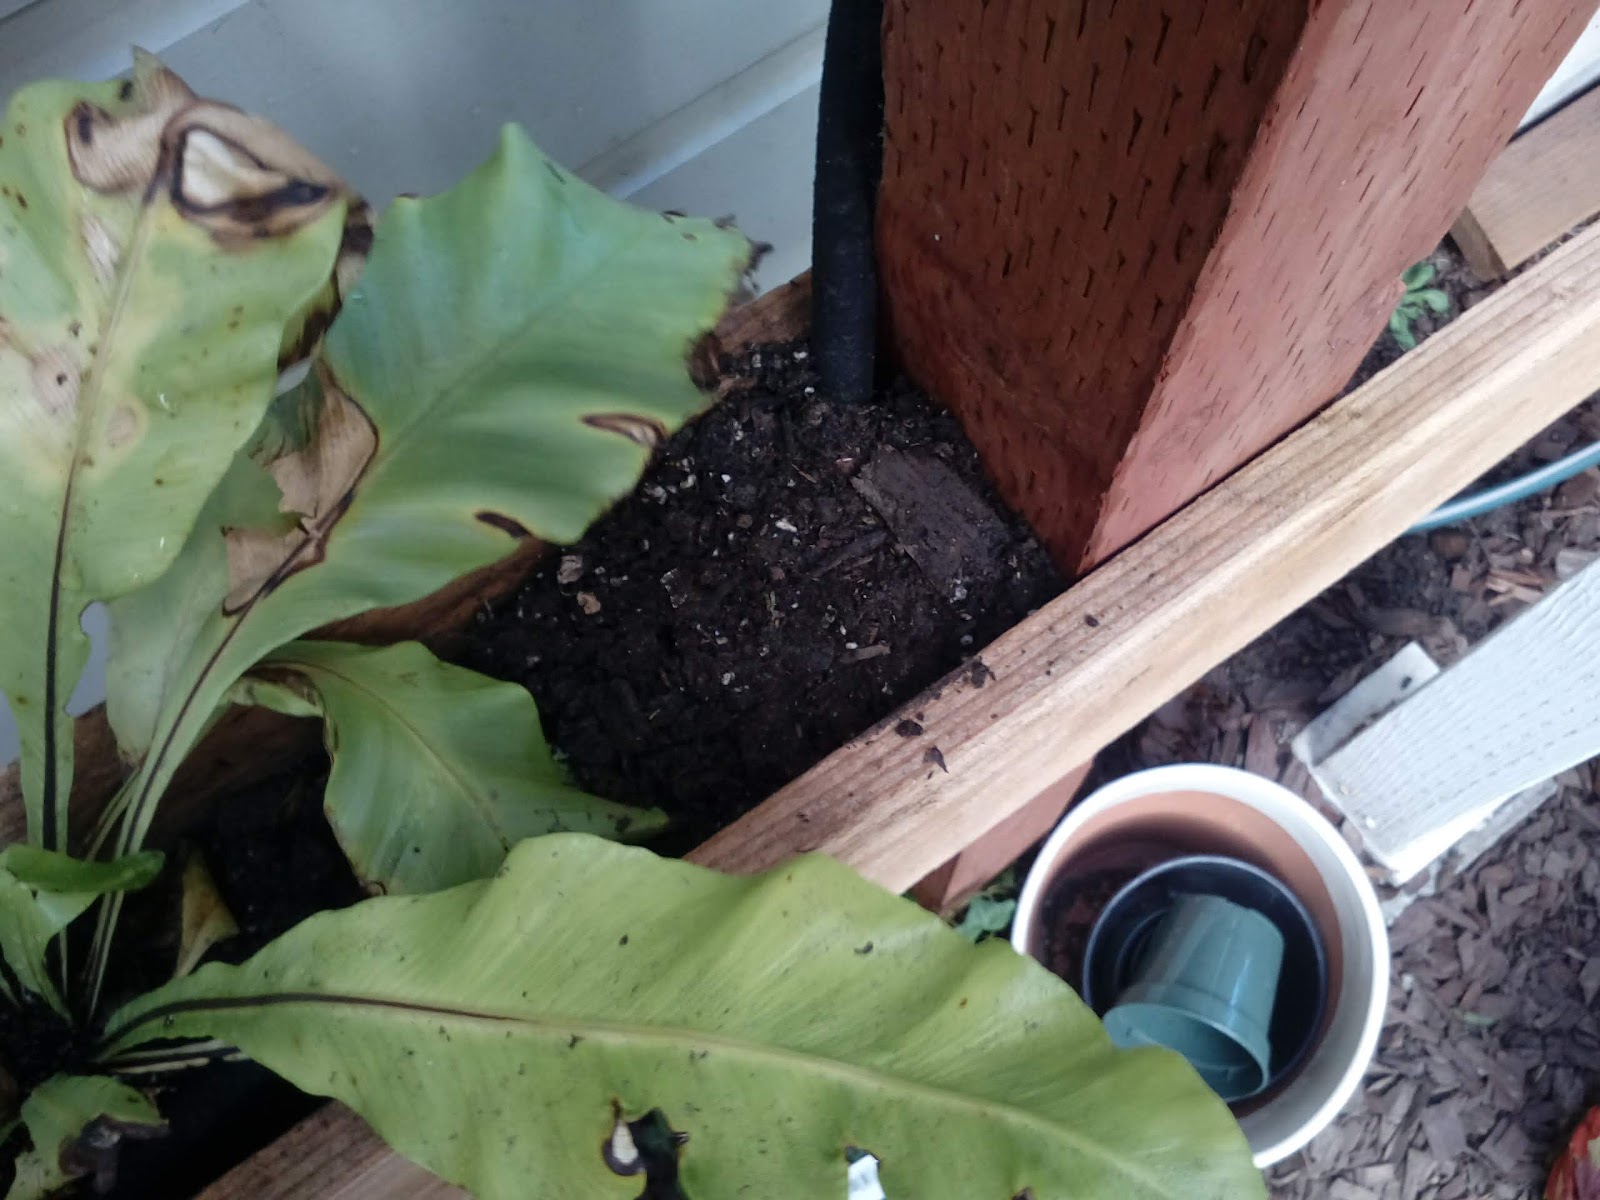
We ran the hoses around on the backside and did our best to just tuck them right around the corner, running them low enough that they could be buried with dirt.


Almost not noticeable once its buried.
Our project was very small so we had a lot of excess hose left over. I just tied off a knot at the end to kink the hose. That way we can extend the project some time in the future.


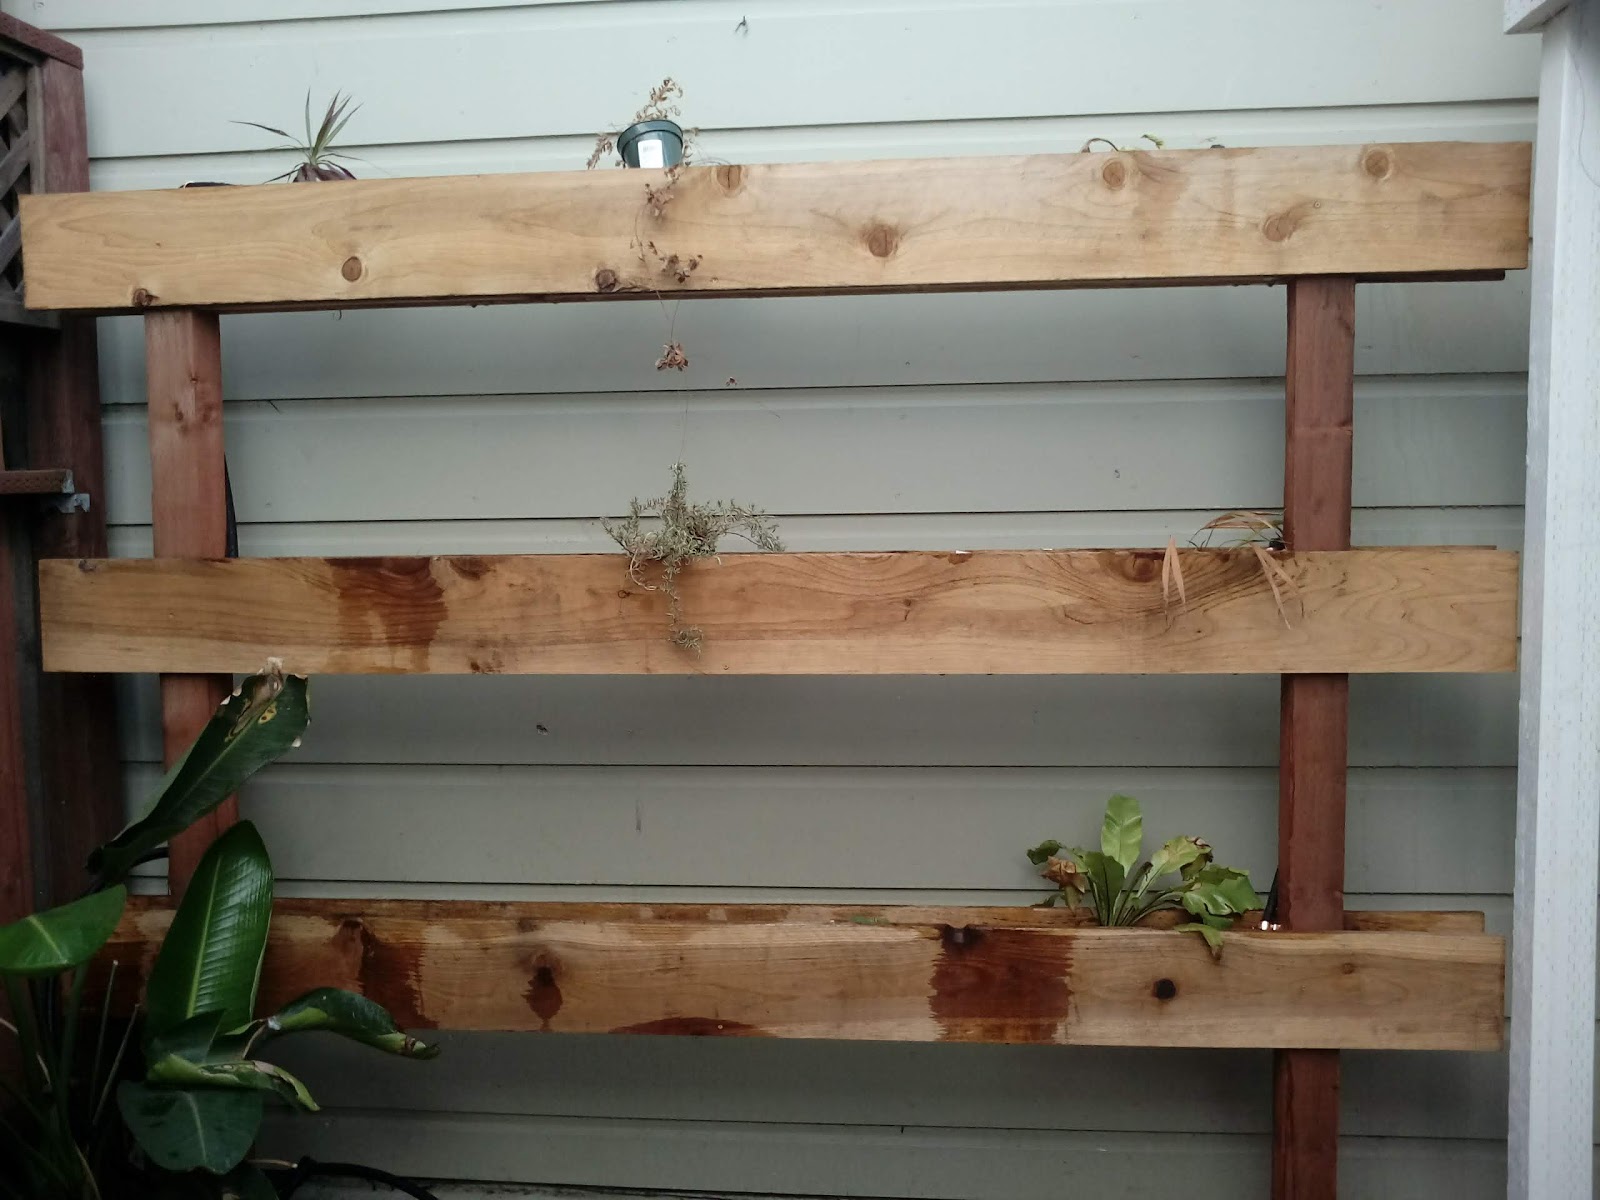
From the front, the irrigation system isn't too obvious when it isn't running. We threw a few test plants in that day, but I missed getting a picture of them. I'll just have to wait to go back and get a "results" pic later.
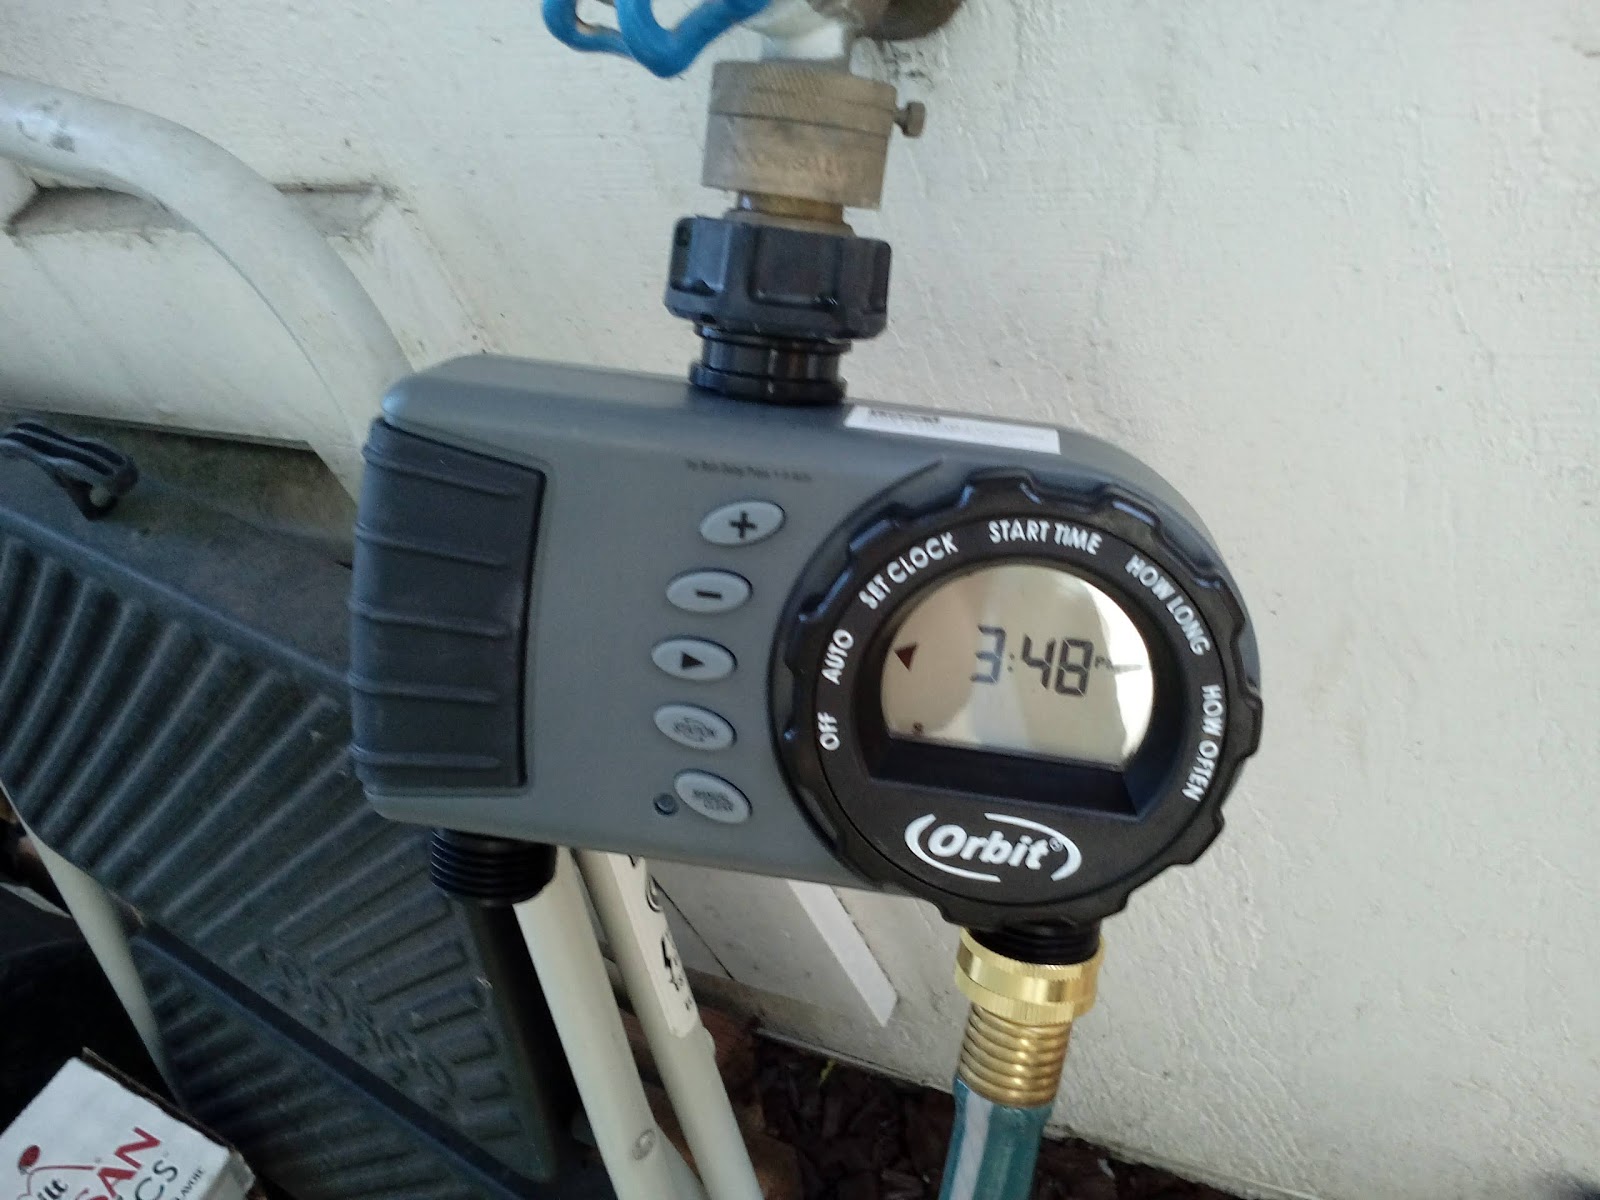
Finally, the most important part is getting an automated irrigation timer. This brand was kind of confusing to use, but it was the cheapest one at the store and we didn't have time to comparison shop.
Results
I'll update here when I can get a photo of how the plants look after a few months of automate irrigation. My friend has been out of town for multiple weeks already so this will be a good test.